Photo retouching has become an essential part of the photography industry, whether for personal photos, fashion shoots, or product photography. In this guide, we'll explore professional photo retouching, delving into key techniques and tools that transform ordinary images into stunning works of art. Whether you're a photographer or a designer, mastering these skills is essential for creating flawless visuals. Let’s get started!
Understanding Professional Photo Retouching
What is Photo Retouching?
Photo retouching is the process of enhancing an image through various adjustments and corrections. This can involve smoothing skin, removing blemishes, adjusting lighting, and fine-tuning color tones to make a photograph more visually appealing. Retouching ensures that images appear professional and polished.
Why is Retouching Important?
In an age where visuals dominate marketing and social media, professional photo editing is crucial to stand out. It elevates the quality of images by correcting imperfections and improving overall aesthetics, making the photos more engaging for viewers and potential clients.
Essential Tools for Professional Photo Retouching
Adobe Photoshop: The Industry Standard
Adobe Photoshop is the go-to tool for photo retouching. Its vast array of tools, such as layers, masks, and filters, allows users to make precise adjustments. From skin smoothing to color correction, Photoshop provides endless possibilities for retouchers.
Lightroom: Fast and Effective Edits
Adobe Lightroom is another popular tool for quick photo edits. It's particularly useful for batch editing, making it ideal for photographers working with large volumes of images. Lightroom’s powerful presets and easy-to-use sliders allow for rapid adjustments in exposure, contrast, and saturation.
Techniques for Skin Retouching
Smoothing Skin Without Losing Texture
One of the most common tasks in photo retouching is smoothing the skin. This involves reducing blemishes and wrinkles while retaining natural skin texture. Techniques such as frequency separation and using the healing brush in Photoshop are essential for this task. Frequency separation allows you to work on the skin texture separately from the color, enabling subtle yet effective changes.
Removing Blemishes and Imperfections
Tools like the clone stamp and spot healing brush in Photoshop are perfect for removing blemishes, scars, or pimples from a subject’s skin. The key is to use these tools delicately so that the final result looks natural, avoiding over-editing.
Enhancing Lighting and Exposure
Adjusting Exposure for Balance
A well-balanced exposure is crucial for professional-looking photos. If an image is too dark or too bright, it can lose detail. Retouchers adjust exposure by using curves, levels, or brightness/contrast adjustments in both Photoshop and Lightroom to achieve a balanced image with clear details in both highlights and shadows.
Fixing Harsh Shadows and Highlights
Sometimes, lighting in a photo can create harsh shadows or blown-out highlights. Professional photo retouchers can fix this by using techniques like dodging and burning, which selectively lighten or darken parts of an image to add depth and balance the light across the frame.
Color Correction and Grading
Correcting White Balance
Incorrect white balance can make a photo look too warm or too cool. This can easily be corrected in Photoshop or Lightroom by adjusting the temperature slider or using the eyedropper tool to select a neutral gray point in the image.
Color Grading for Mood and Style
Color grading goes beyond correcting colors; it’s about setting a mood or creating a specific style. Professional jewelry retouching often apply color grading to give images a cinematic look or align the colors with a brand’s visual identity. Tools like Photoshop’s Color Balance, Gradient Maps, and Lightroom’s HSL panel are invaluable for this task.
Sharpening and Detail Enhancement
Enhancing Image Sharpness
Sharpening enhances the clarity of details in an image, making it appear crisp and professional. Tools such as the Unsharp Mask and High Pass Filter in Photoshop allow retouchers to selectively sharpen parts of an image, focusing on areas like the eyes, jewelry, or textures, without introducing unwanted noise.
Adding Micro-Contrast for Depth
Micro-contrast is a technique that adds subtle contrast to enhance textures and details in specific areas of an image. This can be achieved through a combination of dodging, burning, and contrast adjustments, giving the photo a more three-dimensional look.
Correcting Distortions and Imperfections
Lens Correction and Straightening
Many photos suffer from lens distortion, especially those shot with wide-angle lenses. Photoshop and Lightroom both offer lens correction tools that automatically fix distortions based on the lens profile. Straightening is also crucial for architectural or landscape shots to ensure that lines appear straight and not skewed.
Removing Unwanted Objects
Professional retouching often involves removing unwanted objects or distractions from the frame. This could be anything from stray hairs to unwanted background elements. Tools like the Content-Aware Fill in Photoshop make this task quick and seamless, allowing you to clean up the image without leaving a trace.
Retouching for Different Industries
Fashion and Beauty Retouching
In the fashion and beauty industry, retouching focuses heavily on perfecting skin, hair, and makeup. Professional beautiful jewelry photo retouching use advanced techniques like dodge and burn, frequency separation, and color grading to create flawless images that still look natural.
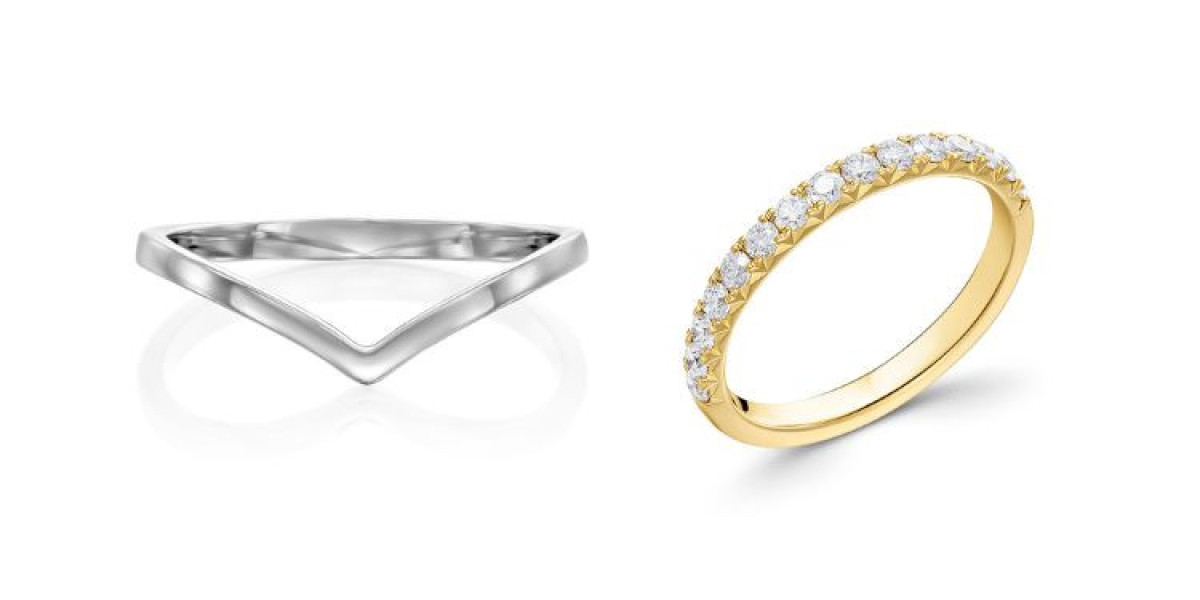
Product and Jewelry Retouching
Product retouching involves enhancing details to make the product stand out. For jewelry, this might mean increasing the shine and clarity of gemstones or polishing metal surfaces to perfection. Techniques such as reflection removal, light enhancement, and background cleanup are commonly used in this type of retouching.
Workflow Tips for Professional Photo Retouching
Non-Destructive Editing
One of the golden rules of professional photo retouching is to use non-destructive editing techniques. This means making adjustments on separate layers or using masks so that the original image remains intact. This approach allows you to revisit and refine your work without starting from scratch.
Creating Presets for Efficiency
For professionals who deal with large volumes of images, creating and saving presets in Lightroom or Photoshop is a great way to speed up the retouching process. Whether it's a specific color grade or skin-smoothing effect, presets allow you to apply consistent edits with just a click.
Final Touches and Exporting
Retouching for Web vs. Print
The final step in professional photo retouching is preparing the image for its intended use. Images for the web often require resizing and optimizing for faster load times, while print images need to be exported at high resolution. Photoshop and Lightroom both offer export settings tailored for different outputs, ensuring that your retouched photos look their best in any medium.
Quality Check and Final Adjustments
Before considering a project complete, it's essential to perform a final quality check. This includes zooming in on key areas of the image to ensure no blemishes, color inconsistencies, or other imperfections have been overlooked. It's also a good idea to compare the edited image with the original to see if any additional tweaks are necessary.
Conclusion
Mastering professional photo retouching is a valuable skill that can transform any image from ordinary to extraordinary. By understanding and applying the right tools and techniques, you can enhance photos in ways that not only correct flaws but also bring out the best in the image. Whether you're retouching portraits, fashion shoots, or products, following this ultimate guide will help you achieve stunning, polished results every time.